UICollectionView and the set of associated classes are extremely flexible and powerful. But with this flexibility comes a certain dose of complexity: a collection view is a good deal deeper and more capable than the good old UITableView.
It's so much deeper, in fact, that Ole Begeman and Ash Furrow have written about Custom Collection View Layouts and Collection Views with UIKit Dynamics in objc.io previously, and I still have something to write about that they have not covered. In this post, I will assume that you're familiar with the basics of collection view layouts and have at least read Apple's excellent programming guide and Ole's post.
The first section of this article will concentrate on how different classes and methods work together to animate a collection view layout with the help of a few common examples. In the second section, we will look at view controller transitions with collection views and see how to use useLayoutToLayoutNavigationTransitions for the cases when it works, and implement custom transitions for the cases when it does not.
The two example projects for this article are available on GitHub:
Collection View Layout Animations
The standard UICollectionViewFlowLayout is very customizable except for its animations; Apple opted for the safe approach and implemented a simple fade animation as default for all layout animations. If you would like to have custom animations, the best way is to subclass the UICollectionViewFlowLayout and implement your animations at the appropriate locations. Let's go through a few examples to understand how various methods in your UICollectionViewFlowLayout subclasses should work together to deliver custom animations.
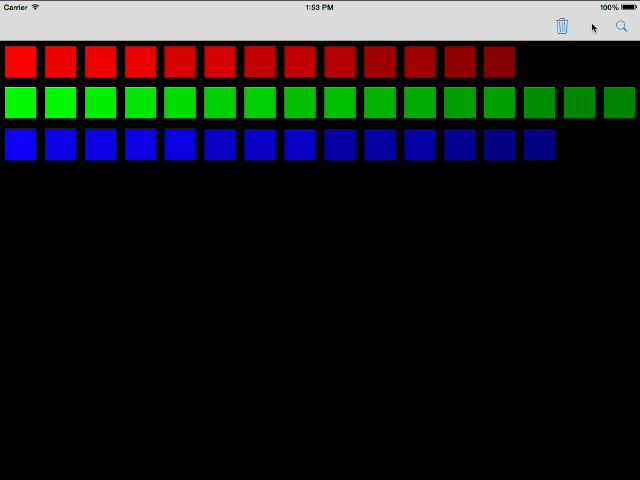
Inserting and Removing Items
In general, layout attributes are linearly interpolated from the initial state to the final state to compute the collection view animations. However, for the newly inserted or removed items, there are no initial and final attributes to interpolate from. To compute the animations for such cells, the collection view will ask its layout object to provide the initial and final attributes through the initialLayoutAttributesForAppearingItemAtIndexPath: and finalLayoutAttributesForDisappearingItemAtIndexPath: methods. The default Apple implementation returns the layout attributes corresponding to the normal position at the specific index path, but with an alpha value of 0.0, resulting in a fade-in or fade-out animation. If you would like to have something fancier, like having your new cells shoot up from the bottom of the screen and rotate while flying into place, you could implement something like this in your layout subclass:
								- (UICollectionViewLayoutAttributes*)initialLayoutAttributesForAppearingItemAtIndexPath:(NSIndexPath *)itemIndexPath
{
    UICollectionViewLayoutAttributes *attr = [self layoutAttributesForItemAtIndexPath:itemIndexPath];

    attr.transform = CGAffineTransformRotate(CGAffineTransformMakeScale(0.2, 0.2), M_PI);
    attr.center = CGPointMake(CGRectGetMidX(self.collectionView.bounds), CGRectGetMaxY(self.collectionView.bounds));

    return attr;
}
Which results in this:
The corresponding finalLayoutAttributesForDisappearingItemAtIndexPath: method for the shown animation is very similar, except that it assigns a different transform.
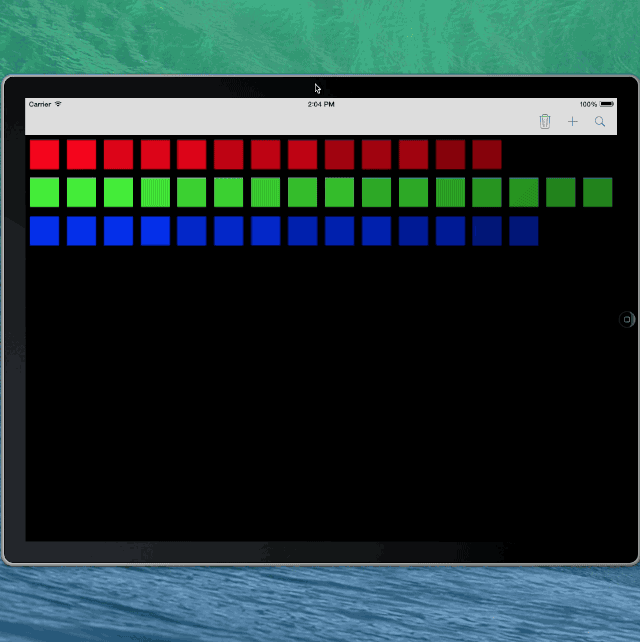
Responding to Device Rotations
A device orientation change usually results in a bounds change for a collection view. The layout object is asked if the layout should be invalidated and recomputed with the method shouldInvalidateLayoutForBoundsChange:. The default implementation in UICollectionViewFlowLayout does the correct thing, but if you are subclassing UICollectionViewLayout instead, you should return YES on a bounds change:
								- (BOOL)shouldInvalidateLayoutForBoundsChange:(CGRect)newBounds
{
    CGRect oldBounds = self.collectionView.bounds;
    if (!CGSizeEqualToSize(oldBounds.size, newBounds.size)) {
        return YES;
    }
    return NO;
}
During the animation of the bounds change, the collection view acts as if the currently displayed items are removed and inserted again in the new bounds, resulting in a series of finalLayoutAttributesForDisappearingItemAtIndexPath: and initialLayoutAttributesForAppearingItemAtIndexPath: calls for each index path.
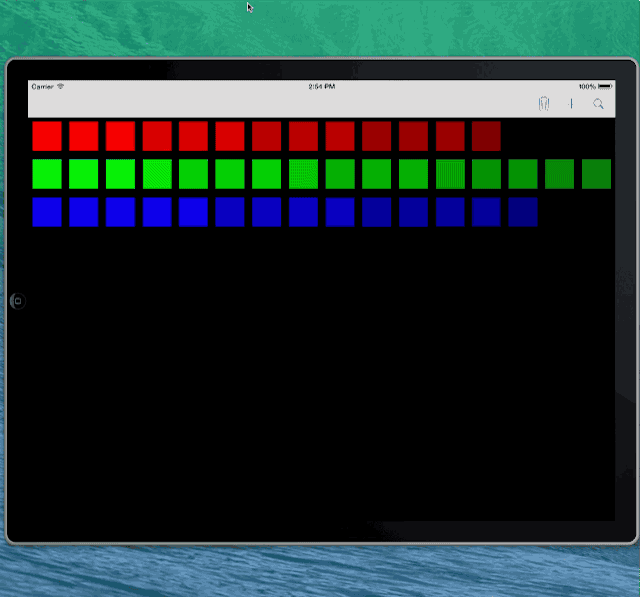
If you implemented some fancy animations for the insertion and deletion of items in the collection view, by now you should be seeing why Apple went with simple fade animations as a sensible default:
Oops…
To prevent such unwanted animations, the sequence of initial position -> removal animation -> insertion animation -> final position must be matched for each item in the collection view, so that they result in a smooth animation. In other words, finalLayoutAttributesForDisappearingItemAtIndexPath: and initialLayoutAttributesForAppearingItemAtIndexPath: should be able to return different attributes depending on if the item in question is really disappearing or appearing, or if the collection view is going through a bounds change animation.
Luckily, the collection view tells the layout object which kind of animation is about to be performed. It does this by invoking the prepareForAnimatedBoundsChange: or prepareForCollectionViewUpdates: for bounds changes and item updates respectively. For the purposes of this example, we can use prepareForCollectionViewUpdates: to keep track of updated objects:
								- (void)prepareForCollectionViewUpdates:(NSArray *)updateItems
{
    [super prepareForCollectionViewUpdates:updateItems];
    NSMutableArray *indexPaths = [NSMutableArray array];
    for (UICollectionViewUpdateItem *updateItem in updateItems) {
        switch (updateItem.updateAction) {
            case UICollectionUpdateActionInsert:
                [indexPaths addObject:updateItem.indexPathAfterUpdate];
                break;
            case UICollectionUpdateActionDelete:
                [indexPaths addObject:updateItem.indexPathBeforeUpdate];
                break;
            case UICollectionUpdateActionMove:
                [indexPaths addObject:updateItem.indexPathBeforeUpdate];
                [indexPaths addObject:updateItem.indexPathAfterUpdate];
                break;
            default:
                NSLog(@"unhandled case: %@", updateItem);
                break;
        }
    }
    self.indexPathsToAnimate = indexPaths;
}
And modify our item insertion animation to only shoot the item if it is currently being inserted into the collection view:
								- (UICollectionViewLayoutAttributes*)initialLayoutAttributesForAppearingItemAtIndexPath:(NSIndexPath *)itemIndexPath
{
    UICollectionViewLayoutAttributes *attr = [self layoutAttributesForItemAtIndexPath:itemIndexPath];

    if ([_indexPathsToAnimate containsObject:itemIndexPath]) {
        attr.transform = CGAffineTransformRotate(CGAffineTransformMakeScale(0.2, 0.2), M_PI);
        attr.center = CGPointMake(CGRectGetMidX(self.collectionView.bounds), CGRectGetMaxY(self.collectionView.bounds));
        [_indexPathsToAnimate removeObject:itemIndexPath];
    }

    return attr;
}
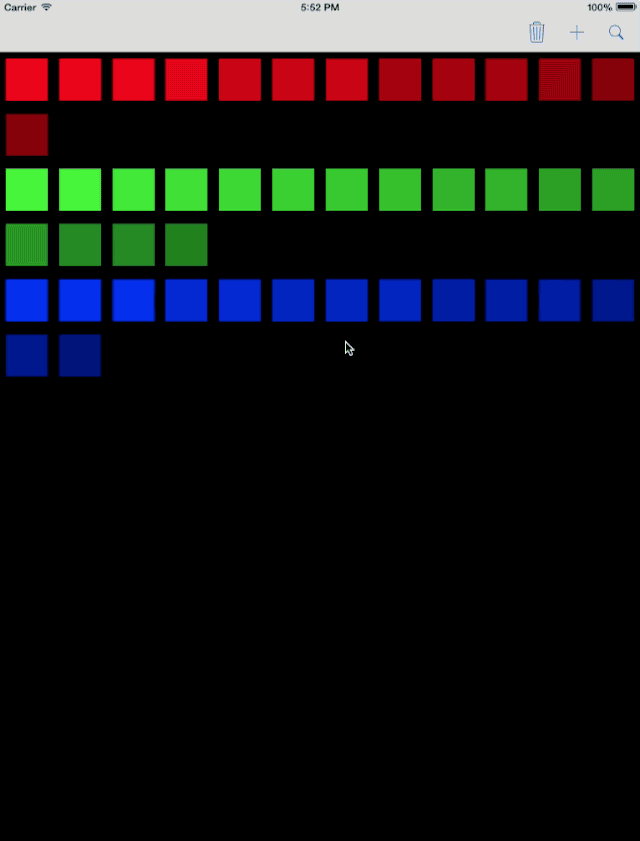
If the item is not being inserted, the normal attributes as reported by layoutAttributesForItemAtIndexPath will be returned, canceling any special appearance animations. Combined with the corresponding logic inside finalLayoutAttributesForDisappearingItemAtIndexPath:, this will result in the items smoothly animating from their initial positions to their final positions in the case of a bounds change, creating a simple but cool animation:
Interactive Layout Animations
Collection views make it quite easy to allow the user to interact with the layout using gesture recognizers. As suggested by Apple, the general approach to add interactivity to a collection view layout follows these steps:
-
Create the gesture recognizer
-
Add the gesture recognizer to the collection view
-
Handle the recognized gestures to drive the layout animations
Let's see how we can build something where the user can pinch an item to zoom, and the item returns to original size as soon as the user releases his or her pinch.
Our handler method could look something like this:
								- (void)handlePinch:(UIPinchGestureRecognizer *)sender {
    if ([sender numberOfTouches] != 2)
        return;


    if (sender.state == UIGestureRecognizerStateBegan ||
        sender.state == UIGestureRecognizerStateChanged) {
        // Get the pinch points.
        CGPoint p1 = [sender locationOfTouch:0 inView:[self collectionView]];
        CGPoint p2 = [sender locationOfTouch:1 inView:[self collectionView]];

        // Compute the new spread distance.
        CGFloat xd = p1.x - p2.x;
        CGFloat yd = p1.y - p2.y;
        CGFloat distance = sqrt(xd*xd + yd*yd);

        // Update the custom layout parameter and invalidate.
        FJAnimatedFlowLayout* layout = (FJAnimatedFlowLayout*)[[self collectionView] collectionViewLayout];

        NSIndexPath *pinchedItem = [self.collectionView indexPathForItemAtPoint:CGPointMake(0.5*(p1.x+p2.x), 0.5*(p1.y+p2.y))];
        [layout resizeItemAtIndexPath:pinchedItem withPinchDistance:distance];
        [layout invalidateLayout];

    }
    else if (sender.state == UIGestureRecognizerStateCancelled ||
             sender.state == UIGestureRecognizerStateEnded){
        FJAnimatedFlowLayout* layout = (FJAnimatedFlowLayout*)[[self collectionView] collectionViewLayout];
        [self.collectionView
         performBatchUpdates:^{
            [layout resetPinchedItem];
         }
         completion:nil];
    }
}
This pinch handler computes the pinch distance and figures out the pinched item, and tells the layout to update itself while the user is pinching. As soon as the pinch gesture is over, the layout is reset in a batch update to animate the return to the original size.
Our layout, on the other hand, keeps track of the pinched item and the desired size and provides the correct attributes for them when needed:
								- (NSArray*)layoutAttributesForElementsInRect:(CGRect)rect
{
    NSArray *attrs = [super layoutAttributesForElementsInRect:rect];

    if (_pinchedItem) {
        UICollectionViewLayoutAttributes *attr = [[attrs filteredArrayUsingPredicate:[NSPredicate predicateWithFormat:@"indexPath == %@", _pinchedItem]] firstObject];

        attr.size = _pinchedItemSize;
        attr.zIndex = 100;
    }
    return attrs;
}
Summary
We looked at how to build custom animations in collection view layout by using a few examples. Even though the UICollectionViewFlowLayout does not directly allow customization of its animations, it is clearly architected by Apple engineers to be subclassed to implement various custom behavior. Essentially, boundless custom layout and animations can be achieved by correctly reacting to signaling methods such as:
-
prepareLayout -
prepareForCollectionViewUpdates: -
finalizeCollectionViewUpdates -
prepareForAnimatedBoundsChange: -
finalizeAnimatedBoundsChange -
shouldInvalidateLayoutForBoundsChange:
in your UICollectionViewLayout subclass and returning the appropriate attributes from methods which return UICollectionViewLayoutAttributes. Even more engaging animations can be achieved by combining these techniques with UIKit Dynamics as introduced in objc.io issue #5.
View Controller Transitions with Collection Views
One of the big improvements in iOS 7 was with the custom view controller transitions, as Chris wrote about in objc.io issue #5. In parallel to the custom transitions, Apple also added the useLayoutToLayoutNavigationTransitions flag to UICollectionViewController to enable navigation transitions which reuse a single collection view. Apple's own Photos and Calendar apps on iOS represent a great example of what is possible using such transitions.
Transitions Between UICollectionViewController Instances
Let's look at how we can achieve a similar effect using the same sample project from the previous section:
In order for the layout-to-layout transitions to work, the root view controller in the navigation controller must be a collection view controller, where useLayoutToLayoutNavigationTransitions is set to NO. When another UICollectionViewController instance with useLayoutToLayoutNavigationTransitions set to YES is pushed on top of this root view controller, the navigation controller replaces the standard push animation with a layout transition animation. One important detail to note here is that the root view controller's collection view instance is recycled for the collection view controller instances pushed on the navigation stack, i.e. these collection view controllers don't have their own collection views, and if you try to set any collection view properties in methods like viewDidLoad, they will not have any effect and you will not receive any warnings.
Probably the most common gotcha of this behavior is to expect the recycled collection view to update its data source and delegate to reflect the top collection view controller. It does not: the root collection view controller stays the data source and delegate unless we do something about it.
The workaround for this problem is to implement the navigation controller delegate methods and correctly set the data source and the delegate of the collection view as needed by the current view controller at the top of the navigation stack. In our simple example, this can be achieved by:
								- (void)navigationController:(UINavigationController *)navigationController didShowViewController:(UIViewController *)viewController animated:(BOOL)animated
{
    if ([viewController isKindOfClass:[FJDetailViewController class]]) {
        FJDetailViewController *dvc = (FJDetailViewController*)viewController;
        dvc.collectionView.dataSource = dvc;
        dvc.collectionView.delegate = dvc;
        [dvc.collectionView scrollToItemAtIndexPath:[NSIndexPath indexPathForItem:_selectedItem inSection:0] atScrollPosition:UICollectionViewScrollPositionCenteredVertically animated:NO];
    }
    else if (viewController == self){
        self.collectionView.dataSource = self;
        self.collectionView.delegate = self;
    }
}
When the detail collection view is pushed onto the stack, we set the collection view's data source to the detail view controller, which makes sure that only the selected color of cells is shown in the detail collection view. If we were not to do this, the layout would correctly transition but the collection would still be showing all cells. In a real-world app, the detail data source would usually be responsible for showing more detail about the data in such a transition.
Collection View Layout Animations for General Transitions
The layout-to-layout navigation transitions using the useLayoutToLayoutNavigationTransitions flag are quite useful, but limited to transitions where both view controllers are UICollectionViewController instances only and the transition takes place between their top-level collection views. We need a custom view controller transition in order to achieve a similar transition between arbitrary collection views in arbitrary view controllers.
![]()
An animation controller for such a custom transition could be designed along the following steps:
-
Make snapshots of all visible items in the initial collection view
-
Add the snapshots to the transitioning context container view
-
Compute the final positions using the layout of the target collection view
-
Animate the snapshots to the correct positions
-
Remove the snapshots while making the target collection view visible
The downside of such an animator design is two-fold: it can only animate the items visible in the initial collection view, since the snapshot APIs only work for views already visible on the screen, and depending on the number of visible items, there could be a lot of views to correctly keep track of and to animate. On the other hand, the big advantage of this design would be that it would work for all kinds of UICollectionViewLayout combinations. The implementation of such a system is left as an exercise for the reader.
Another approach, which is implemented in the accompanying demo project, relies on a few quirks of the UICollectionViewFlowLayout.
The basic idea is that both the source and the destination collection views have valid flow layouts and the layout attributes of the source layout could act as the initial layout attributes for the items in the destination collection view to drive the transition animation. Once this is set up, the collection view machinery would take care of keeping track of all items and animate them for us, even if they're not initially visible on the screen. Here is the core of the animateTransition: method of our animation controller:
								CGRect initialRect = [inView.window convertRect:_fromCollectionView.frame fromView:_fromCollectionView.superview];
CGRect finalRect   = [transitionContext finalFrameForViewController:toVC];

UICollectionViewFlowLayout *toLayout = (UICollectionViewFlowLayout*) _toCollectionView.collectionViewLayout;

UICollectionViewFlowLayout *currentLayout = (UICollectionViewFlowLayout*) _fromCollectionView.collectionViewLayout;

//make a copy of the original layout
UICollectionViewFlowLayout *currentLayoutCopy = [[UICollectionViewFlowLayout alloc] init];

currentLayoutCopy.itemSize = currentLayout.itemSize;
currentLayoutCopy.sectionInset = currentLayout.sectionInset;
currentLayoutCopy.minimumLineSpacing = currentLayout.minimumLineSpacing;
currentLayoutCopy.minimumInteritemSpacing = currentLayout.minimumInteritemSpacing;
currentLayoutCopy.scrollDirection = currentLayout.scrollDirection;

//assign the copy to the source collection view
[self.fromCollectionView setCollectionViewLayout:currentLayoutCopy animated:NO];

UIEdgeInsets contentInset = _toCollectionView.contentInset;

CGFloat oldBottomInset = contentInset.bottom;

//force a very big bottom inset in the target collection view
contentInset.bottom = CGRectGetHeight(finalRect)-(toLayout.itemSize.height+toLayout.sectionInset.bottom+toLayout.sectionInset.top);
self.toCollectionView.contentInset = contentInset;

//set the source layout for the destination collection view
[self.toCollectionView setCollectionViewLayout:currentLayout animated:NO];

toView.frame = initialRect;

[inView insertSubview:toView aboveSubview:fromView];

[UIView
 animateWithDuration:[self transitionDuration:transitionContext]
 delay:0
 options:UIViewAnimationOptionBeginFromCurrentState
 animations:^{
   //animate to the final frame
     toView.frame = finalRect;
     //set the final layout inside performUpdates
     [_toCollectionView
      performBatchUpdates:^{
          [_toCollectionView setCollectionViewLayout:toLayout animated:NO];
      }
      completion:^(BOOL finished) {
          _toCollectionView.contentInset = UIEdgeInsetsMake(contentInset.top,
                                                            contentInset.left,
                                                            oldBottomInset,
                                                            contentInset.right);
      }];

 } completion:^(BOOL finished) {
     [transitionContext completeTransition:YES];
 }];
First, the animation controller makes sure that the destination collection view starts with the exact same frame and layout as the original. Then, it assigns the layout of the source collection view to the destination collection view, making sure that it does not get invalidated. At the same time, the layout is 'copied' into a new layout object, which gets assigned to the original collection view to prevent strange layout bugs when navigating back to the original view controller. We also force a large bottom content inset on the destination collection view to make sure that the layout stays on a single line for the initial positions for the animation. If you look at the logs, you will see the collection view complaining about this temporary condition because the item size plus the insets are larger than the non-scrolling dimension of the collection view. In this state, the behavior of the collection view is not defined, and we are only using this unstable state as the initial state for our transition animation. Finally, the convoluted animation block does its magic by first setting the frame of the destination collection view to its final position, and then performing a non-animated layout change to the final layout inside the updates block of performBatchUpdates:completion:, which is followed by the resetting of the content insets to the original values in the completion block.
In Conclusion
We looked at two different approaches to achieve layout transitions between collection views. The first method, with the help of the built-in useLayoutToLayoutNavigationTransitions, looks quite impressive and is very easy to implement, but is limited in cases where it can be used. For the cases where useLayoutToLayoutNavigationTransitions is not applicable, a custom animator is required to drive the transition animation. In this post, we have seen an example of how such an animator could be implemented, however, since your app will almost certainly require a completely different animation between two different view hierarchies, as in this example, don't be reluctant about trying out a different approach and seeing if it works.