In this article we will look at tips and tricks to write custom views and controls. We will start with an overview of what UIKit provides us already, and see some tricks for rendering. We will dive into communication strategies between views and their owners, and very briefly look at accessibility, localization and testing.
Overview of the View Hierarchy
If you look at any UIView subclass, you will see three base classes: responders, views, and controls. We'll quickly go over all three to see what is going on.
UIResponder
The UIResponder class is the superclass of UIView. A responder can
handle events such as touches, motion, and remote control events.
The reason that this is a separate class, and not merged into UIView,
is that there are more subclasses of UIResponder, most notably
UIApplication and UIViewController. By overriding the
methods in UIResponder, a class can determine whether it can become a
first responder (i.e. the currently focused element for input).
When interface events happen, such as touches or motion, they get sent to the first responder (often, this is a view). When the event does not get handled by the first responder, it goes up the responder chain to the view controller, and if it still doesn't get handled, it continues to the application. If you want to detect a shake gesture, you could do this in all three of these levels, depending on your needs.
The UIResponder also lets you customize the input methods, from adding
an accessory view to the keyboard with inputAccessoryView to providing
a completely custom keyboard by using inputView.
UIView
The UIView subclass handles everything related to drawing
content and handling touches. Anybody who has built a "Hello, World" app
knows about views, but let's reiterate some of the tricky bits:
A common misconception is that this area is defined by the view's frame. In reality, the frame is actually a property that is derived, most notably from the combination of center and bounds. When not doing Auto Layout, most people use the frame to position and size the view. Be warned, because the documentation spells out a caveat:
If the transform property is not the identity transform, the value of this property is undefined and therefore should be ignored.
One of the other things that lets you add interactivity to views is gesture recognizers. Note that they don't work on responders, but instead only on views and their subclasses.
UIControl
Building on views, the UIControl class adds more support for
interactivity. Most importantly, it adds the target/action pattern.
Looking at the concrete subclasses, we can see buttons, date pickers,
text fields, and more. When creating interactive controls, you often
want to subclass a descendant of UIControl.
Some notable classes that are not controls are bar buttons (although
they do support target/action) and text views (here, getting notified
requires you to use a delegate).
Rendering
Now, let's move on to the visual bit: custom rendering. As Daniel mentioned
in his article, you probably want to avoid doing rendering on the CPU, but
instead offload it to the GPU. There is one rule of thumb to achieve this:
try to avoid drawRect:, and instead compose your custom views out of
existing views.
Often, the quickest way to render something is just by using image views. For example, let's suppose that you want to draw round avatars and a border, such as in the picture below:
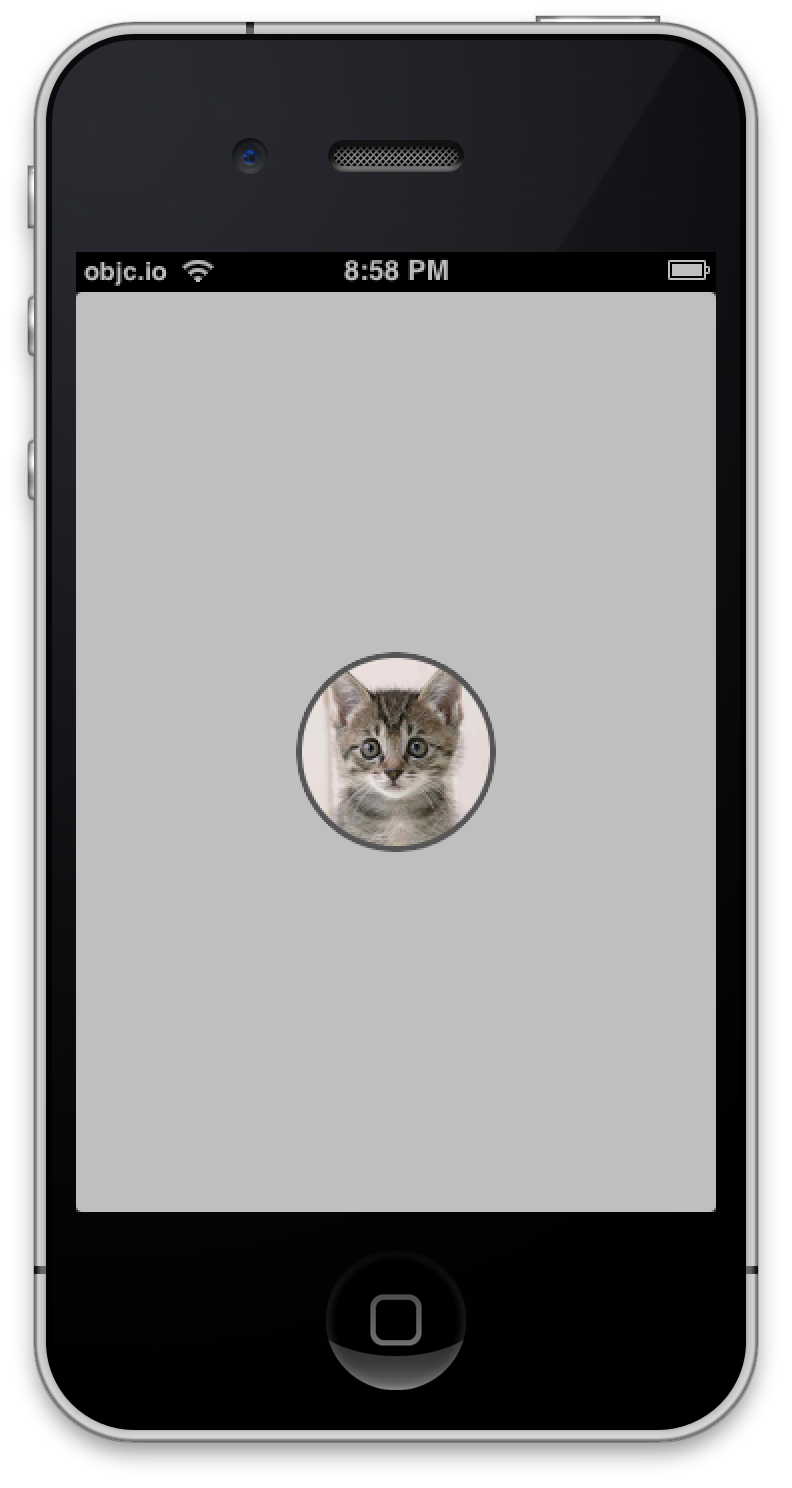
To achieve this, we created an image view subclass with the following code:
								// called from initializer
- (void)setupView
{
    self.clipsToBounds = YES;
    self.layer.cornerRadius = self.bounds.size.width / 2;
    self.layer.borderWidth = 3;
    self.layer.borderColor = [UIColor darkGrayColor].CGColor;
}
I would like to encourage you to dive into CALayer and its properties,
because most of what you can achieve with that will be faster than
drawing your own things using Core Graphics. Nonetheless, as always, it is
important to profile your code.
By using stretchable images together with your image views, you can also greatly improve performance. In a post called Taming UIButton, Reda Lemeden explores different ways of drawing. At the end of the article there's a nugget of gold: a link to a comment by Andy Matuschak on Hacker News, explaining which is the fastest of these techniques: a resizable image. The reason is because a resizable image takes a minimum amount of data transfer between the CPU and GPU, and the drawing of these images is highly optimized.
If you are processing images, you can also often get away with letting the GPU do that for you, instead of doing it with Core Graphics. Using Core Image, you can create complicated effects on images without having to do any rendering on the CPU. You can render directly to an OpenGL context, and everything will happen on the GPU.
Custom Drawing
If you do decide to do custom drawing, there are several different options you can choose from. If possible, see if you can generate an image, and then cache that, either on disk or in memory. If your content is very dynamic, you can maybe use Core Animation, or if it doesn't work, go for Core Graphics. If you really want to get close to the metal, it is not that hard to use GLKit and raw OpenGL, but it does require a lot of work.
If you do choose to override drawRect:, make sure to take a
look at content modes. The default mode scales the content to fill the
view's bounds, and does not get redrawn when the frame changes.
Custom Interaction
As said, when writing custom controls, you almost always want to extend a subclass of UIControl. In your subclass, you can fire events using the target action mechanism, as shown in this example:
[self sendActionsForControlEvents:UIControlEventValueChanged];
To respond to touches, you almost always want to use gesture
recognizers. However, if you want to go low-level, you can still
override the methods touchesBegan, touchesMoved, and touchesEnded
to get access to the raw touches. That said, to separate the gesture
handling from your custom view or view controller, it is almost always
more appropriate to create a gesture recognizer subclass.
One common design problem you face when creating custom controls is communicating back the value to the classes that own them. For example, suppose you want to create a custom control for drawing interactive pie charts, and you want to know when the user selected a sector. You can solve this in a lot of different ways, by using target-action, delegates, blocks or key-value observing, or even notifications.
Use Target-Action
The old-school way, and often the most convenient, is to use target-action. After the selection, you would do something like this in your custom view:
[self sendActionsForControlEvents:UIControlEventValueChanged];
If you have a view controller that manages this view, it would do something like this:
								 - (void)setupPieChart
 {
    [self.pieChart addTarget:self
                      action:@selector(updateSelection:)
            forControlEvents:UIControlEventValueChanged];
 }

 - (void)updateSelection:(id)sender
 {
    NSLog(@"%@", self.pieChart.selectedSector);
 }
The advantage is that you need to do very little in your custom view subclass, and you automatically get support for multiple targets.
Use Delegates
If you need more control over the kind of messages being sent from the view to the controller, it is often handy to use the delegate pattern. In case of our pie chart, it would look something like this:
[self.delegate pieChart:self didSelectSector:self.selectedSector];
And in the view controller, you would write code like so:
								 @interface MyViewController <PieChartDelegate>

 ...

 - (void)setupPieChart
 {
     self.pieChart.delegate = self;
 }

 - (void)pieChart:(PieChart*)pieChart didSelectSector:(PieChartSector*)sector
 {
     // Handle the sector
 }
This is nice when you want to do more complicated things than just
letting the owner know that the value changed. Even though most
programmers can write custom delegates very quickly, there are also some
drawbacks: you might need to check if your delegate implements the
method you want to call (using respondsToSelector:), and most
importantly, you can typically only have one delegate (or you need to create an
array of delegates). That said, once the communication between a view's
owner and the view gets a bit more complicated, this is the pattern we
almost always resort to.
Use Blocks
Another option you have is to use blocks. Again, in case of the pie chart, it would look something like this:
								@interface PieChart : UIControl

@property (nonatomic,copy) void(^selectionHandler)(PieChartSection* selectedSection);

@end
Then, in the selection code, you would just call it. It is important to check if the block is set, because calling a block that is not set will crash.
								if (self.selectionHandler != NULL) {
  self.selectionHandler(self.selectedSection);
}
The advantage of setting things up this way is that you can group related code together in the view controller:
								- (void)setupPieChart
{
   self.pieChart.selectionHandler = ^(PieChartSection* section) {
      // Do something with the section
   }
}
Just like with delegates, you typically have only one block per action. Another more important limitation is that you don't want to create retain cycles. If your view controller holds a strong reference to the pie chart, and the pie chart to the block, and the block to the view controller, you've created a retain cycle. To make this mistake, you only need to reference self in the block. So you often end up with code like this:
								__weak id weakSelf = self;
self.pieChart.selectionHandler = ^(PieChartSection* section) {
   MyViewController* strongSelf = weakSelf;
   [strongSelf handleSectionChange:section];
}
Once the block bodies get out of hand, you will also probably extract them to methods of their own, and then you might as well have used delegates.
Use KVO
If you like KVO, you can also use this for observing. It's a bit more magical and less direct, but when you are already using it in your application, it's a nice pattern to decouple things. In your pie chart class, you would do this:
self.selectedSegment = theNewSelectedSegment.
When you use synthesized properties, KVO will pick up this change and send notifications. In your view controller, you would do something like this:
								- (void)setupPieChart
{
    [self.pieChart addObserver:self forKeyPath:@"selectedSegment" options:0 context:NULL];
}

- (void)observeValueForKeyPath:(NSString *)keyPath ofObject:(id)object change:(NSDictionary *)change context:(void *)context
{
  if(object == self.pieChart && [keyPath isEqualToString:@"selectedSegment"]) {
     // Handle change
  }
}
You also need to remove the observer, for example, in viewWillDisappear: or dealloc, depending on your use case. Observing multiple children from the same object quickly gets messy. There are some techniques for dealing with this, such as ReactiveCocoa or the more lightweight THObserversAndBinders.
Use Notifications
As a final option, if you want a very loose coupling, you can use notifications for letting other objects know about changes. In case of the pie chart you almost certainly wouldn't want this, but for completeness, here is how you would do it. In the pie chart's header file:
extern NSString* const SelectedSegmentChangedNotification;
And in the implementation:
								NSString* const SelectedSegmentChangedNotification = @"selectedSegmentChangedNotification";

...

- (void)notifyAboutChanges
{
   [[NSNotificationCenter defaultCenter] postNotificationName:SelectedSegmentChangedNotification object:self];
}
Now, to subscribe to notifications, you do the following in your view controller:
								- (void)setupPieChart
{
  [[NSNotificationCenter defaultCenter] addObserver:self
                                           selector:@selector(segmentChanged:)
                                               name:SelectedSegmentChangedNotification
                                             object:self.pieChart];

}
								...

- (void)segmentChanged:(NSNotification*)note
{
}
When you add the observer, instead of passing in the pie chart as the object, you could
also pass in nil and receive notifications from all pie chart objects.
Just like with KVO notifications, you also need to unsubscribe from
these notifications in the appropriate place.
The advantage of this technique is that it's quite decoupled. On the other hand, you lose type safety, because you get a notification object in your callback, and unlike with delegation, the compiler can't check if the types between the notification sender and the notification receiver match.
Accessibility
The standard iOS controls provided by Apple are all accessible. This is another reason to create your custom controls out of standard controls.
This is probably the topic of an entire issue, but
if you write a custom view, the Accessibility Programming Guide explains how to make the controls accessible. Most notably, if you have a view that has multiple elements inside it that should be accessible, but are not subviews, then you can implement the UIAccessibilityContainer protocol for your view. For each element, you then return a UIAccessibilityElement object that describes it.
Localization
When creating custom views, it is also important to think about localization. Like accessibility, this could be the topic of an entire issue. The most straightforward thing to localize in your custom views is string contents. If you use NSString, you don't have to worry about encoding. If you display dates or numbers in your custom views, use the date and number formatter classes to display them. To localize strings, use NSLocalizedString.
Another really helpful tool in localization is Auto Layout. For example, some words that are short in English might be very long in German. If you hard-code the size of your view based on the word size in English, you will almost certainly run into trouble when translating to German. By using Auto Layout, you can make this quite easy by letting labels adjust to the size of their contents, and adding other constraints on dependent elements to make sure they resize too. Apple provides a good introduction for this. Also, with right-to-left languages such as Hebrew, your entire view will display right-to-left automatically if you use leading and trailing attributes, instead of hardcoding left and right.
Testing
Finally, let's consider testing your views. For unit testing, you can use the default tools provided in Xcode or any of the third-party frameworks. In addition, you can use UIAutomation or any of the tools built on top of that. For this, it is essential that your views are fully accessible. An underused feature of UIAutomation is taking screenshots; you can do this to make sure your views are really pixel-perfect by automatically comparing them with the design specification. (And on an unrelated note: you can also use this to automatically generate the screenshots for the App Store, which is especially useful if you have multiple apps in multiple languages).